In this article we will show you how to add an icon to a WPF application.
Design your icon and support several sizes
An icon file (*.ico) can contain several different images with different sizes, which are then loaded appropriately.
For Windows applications, I find that these icon sizes are enough:
- 16x16
- 32x32
- 48x48
- 256x256
There are several applications that support editing images in ico format, but I prefer to use GIMP:

I create a separate layer for each different size and when exporting to ico format, GIMP saves the file appropriately.
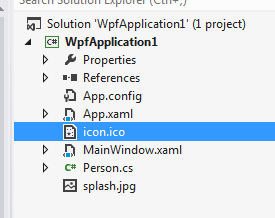
Add icon to project
The next step is to add the icon file to your project.
Set icon in application properties
You then need to open your project properties and set the icon in the Application tab.
Each window in the application can have its own icon, but if you do not define one directly, the assembly icon will be used (the one you specified in the app properties).
Debug mode doesn’t show the icon
When running your application in debug mode from within Visual Studio, the icon will not be shown. That’s by design.
If you "Start Without Debugging" (Ctrl+F5) or run it externally, the icon will show correctly.