In this article we will show you how to quickly make a settings interface in a WPF application by using the PropertyGrid control from the Extended WPF Toolkit.
1. Install the Extended WPF Toolkit
If you haven’t already, the first step is to install the Extended WPF Toolkit. You can do that easily through NuGet.

2. Create your settings classes
As an example we will be building upon the custom settings class we created in a previous article. To summarize, we create our own serializable class to store settings and those are saved in the default WPF settings file.
To better demonstrate this approach we are adding some more settings. Our final settings class looks like this:
[Serializable]
public class MyConfig
{
    [Browsable(false)]
    public WindowConfig MainWindow { get; set; }

    [Category("General settings")]
    public Theme Theme { get; set; }

    [ExpandableObject]
    [Category("General settings")]
    [DisplayName("Tab options")]
    public TabConfig Tab { get; set; }

    public MyConfig()
    {
        MainWindow = new WindowConfig();
        MainWindow.Width = 600;
        MainWindow.Height = 400;

        Theme = Theme.Light;

        Tab = new TabConfig();
        Tab.AllowReorder = true;
        Tab.ShowIcon = true;
        Tab.MaxResults = 20;
    }
}
And a new type to demonstrate hierarchy:
[Serializable]
public class TabConfig
{
    [DisplayName("Allow tab reordering?")]
    public bool AllowReorder { get; set; }

    [DisplayName("Show icon?")]
    public bool ShowIcon { get; set; }

    [DisplayName("Maximum results")]
    public int MaxResults { get; set; }

    public TabConfig()
    {
    }
}
3. Decorate your settings class
You might have noticed that we added a couple of attributes. These control which properties will be shown and how they will be shown in the property grid.
They are pretty self-explanatory:
Browsable: whether to show it or notCategory: which category it belongs toDisplayName: the title used for displayExpandableObject: whether to create an expander with the properties of the object
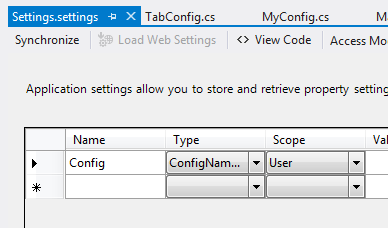
4. Store in settings file
Don’t forget to include a property in the settings file with your custom type.
5. Add the PropertyGrid
First, add the namespace:
xmlns:xctk="http://schemas.xceed.com/wpf/xaml/toolkit"Then you can add the control:
<xctk:PropertyGrid
    AutoGenerateProperties="true"
    SelectedObject="{my:SettingBinding .}" />
I’m using the same extension for settings binding that we built in the previous article. The dot specifies that the binding is to the source.
The result is the following:

It’s a quick way to create a settings interface, especially in a mockup scenario and you even get a search box as a side bonus.
Don’t forget to save the settings:
Settings.Default.Save();